
Stay Connected Anywhere: The Traveler’s Guide to Using an eSIM Abroad
An eSIM for travel is a digital SIM card that you download straight onto your phone, letting you skip the hassle of physical plastic cards or roaming charges. It works by connecting you to local networks in your destination country as soon as you land, so you simply scan a QR code or tap a profile to activate a data plan before you even board the plane. This means you get instant, affordable connectivity without hunting for a store or swapping SIMs, and you can switch between countries effortlessly by adding new plans right from your phone’s settings.
What Exactly Is a Travel eSIM and Why Do You Need One?
A travel eSIM is a digital SIM card embedded in your phone that you activate by scanning a QR code, eliminating the need for a physical plastic card. It connects you to a local mobile network in your destination country, giving you instant data access upon arrival. You need one primarily for convenience, as it avoids hunting for local SIM shops or paying exorbitant roaming fees from your home carrier. Instead of swapping SIM cards, you can purchase and install a travel data plan before you depart, ensuring you have cellular connectivity the moment your plane lands. This works because the eSIM profile stores your new network credentials, and you can keep your original number active for calls and texts while using the travel plan solely for data.
How a digital SIM replaces your physical plastic card
A travel eSIM doesn’t just mimic your physical SIM—it *becomes* it, digitally. Instead of slotting a plastic card into a tray, you scan a QR code or download a profile, and your phone’s embedded chip hosts the network credentials. This means no more fiddling with tiny cards at the airport or risking loss. Your original plastic SIM can even stay active for calls, while the eSIM handles data. Switching carriers is instant—no swapping, no ejector tools. Your phone itself transforms into the SIM card, letting you add a local plan in minutes, then delete it when you leave. That physical card? It’s permanently retired from your travel kit.
Q: How does a digital SIM replace your physical plastic card in practice?
A: You download the eSIM profile, and your phone allocates a virtual slot for it—no card is inserted, removed, or lost. The network is tied to your device’s hardware, so you can carry multiple profiles (home + travel) without ever touching a tray.
The real difference between roaming charges and a local data plan
Roaming charges mean your home carrier’s network reaches out to a foreign tower, then bills you per megabyte—often at rates that make your eyes water. A local data plan, like the one a travel eSIM connects you to, buys a bucket of data directly from a network in your destination country. That’s the real difference: roaming bills your home plan’s inflated international rates, while a local plan taps into the region’s normal, everyday pricing. You’re not borrowing your carrier’s service from afar; you’re renting a slice of the local infrastructure. So, with roaming, every map check feels like a gamble. With a local eSIM, you just use data like a local would—without the surprise invoice.
Roaming charges you a premium for your home network’s reach; a local data plan pays the destination’s normal rate—so you get the same internet for a fraction of the cost and zero bill shock.
Which phones and devices support this built-in technology
Most recent flagship and mid-range phones from Apple, Google, and Samsung come with built-in eSIM support, but compatibility varies by model and region. iPhones from the XS onward (excluding some Chinese models) support it, while Google Pixel devices from the 3a series and newer are ready. Samsung Galaxy S20 and later, plus the Z Flip and Fold lines, typically work. Your device’s carrier lock and original region can block eSIM activation, so checking settings for “Add eSIM” before buying a plan is the fastest test. Even some smartwatches and tablets, like the Apple Watch and iPad Pro, accept travel eSIMs, but only if they have a cellular model.
- iPhone XS, XR, and all newer models (except some sold in mainland China and Hong Kong).
- Google Pixel 3a and newer, including the Pixel Fold.
- Samsung Galaxy S20, Note 20, Z Fold, and Z Flip series—though some US-locked units may be restricted.
- iPad Pro, iPad Air (cellular versions), and Apple Watch Series 5 and later with cellular.
How Do You Set Up a Digital SIM Before Your Trip?
Before you fly, confirm your phone is unlocked and supports eSIM—most recent models do. Purchase your travel data plan from a reputable provider, choosing a package that covers your destination country and duration. You’ll receive a QR code via email; scan it from your device’s cellular settings using a stable Wi-Fi connection. Install the profile, then label it clearly (e.g., “Spain Trip”) to avoid confusion with your primary line. Activate the plan only when you land, keeping your home SIM off to dodge roaming fees. Set your data line to the new eSIM and enable data roaming for that specific profile. *Testing the QR code at home before departure saves you airport panic if the network fails*. Finally, disable automatic carrier updates to prevent accidental switching mid-trip.
Scanning a QR code or installing a profile in under five minutes
Scanning a QR code or installing a profile in under five minutes begins after purchase, when your eSIM provider emails a QR code or a manual activation link. With Wi‑Fi on, open your phone’s cellular settings and choose “Add eSIM” or “Add Mobile Plan,” then scan the code directly; the profile downloads and activates automatically. If the QR fails, enter the SM-DP+ address and activation code manually, which takes roughly two minutes. After installation, assign the new line to data, keep your primary line for calls, and restart your device. This entire **under-five-minute eSIM setup** process requires no physical card, only a stable connection and your phone unlocked for carrier profiles.
When to install the eSIM—before boarding or after landing
Install your eSIM **before boarding** whenever possible, as this is the single most reliable way to avoid landing without connectivity. Do it at home or in the airport lounge while you still have Wi-Fi, ensuring the profile is fully downloaded and activated on your device. If you wait until after landing, you risk encountering spotty airport Wi-Fi or paying for a temporary data pass just to complete the setup—a frustrating delay when you need maps or ride-hailing apps. For most travelers, the only reason to delay installation is if your carrier requires a network connection to send a confirmation code; in that case, download the eSIM app first, then activate over local Wi-Fi.
Q: Is it risky to install the eSIM after landing at my destination?
A: Yes, because you’ll need a stable internet connection—either from airport Wi-Fi or a separate roaming plan—to finish the activation, which can fail or be slow. Installing before takeoff eliminates this scramble and lets you land ready to use data instantly.
How to keep your home number active while using a travel data plan
To keep your home number active while using a travel data plan, enable Wi-Fi Calling before departure, then switch your primary line to a secondary SIM or leave it physically installed. Your home carrier will route calls and texts over the travel eSIM’s data connection, bypassing cellular roaming fees. Ensure your phone’s settings allow cellular data switching to the travel plan while voice uses the home line. If your device supports dual SIM standby, deactivate the home line’s data but keep it enabled for calls; otherwise, manually select your home network only when needed. This setup preserves your number for OTPs and calls, while the travel plan handles all heavy data—the core of keeping your home number active.
What Should You Look for When Choosing a Travel Data Plan?

When selecting an eSIM for travel, prioritize coverage matching your exact destinations, not just “global” claims—verify local network partners. Check if the plan is data-only or includes hotspot tethering, as some providers restrict sharing. Assess the validity window: choose a plan that starts on your activation date, not purchase date, to avoid wasting days. Compare per-GB cost against your actual consumption, but also confirm speed limits after a fairness threshold. Crucially, ensure the eSIM supports instant activation with a QR code—no physical SIM hunting—and offers a top-up option if you run low.
Scrutinize the cancellation policy: a flexible refund on unused data is your safety net against unexpected itinerary changes.
Finally, read user reviews for real-world connectivity in rural zones, as network maps often overpromise.
Data-only versus calls-and-texts: what your trip actually requires
Before buying, audit your trip against your real communication habits. If you rely on WhatsApp, iMessage, or FaceTime for voice and video, a data-only eSIM for travel is almost always sufficient—your existing apps handle calls and texts over Wi-Fi or cellular data, often with better audio quality than a traditional line. Conversely, if you must receive banking verification codes via SMS or need to call local restaurants that lack app-based booking, you’ll need a plan bundling native calls and texts. The trap is overpaying for voice minutes you’ll never use—most travelers under 30 send zero carrier texts abroad. Also, verify whether your phone supports dual SIMs so your home number stays active for emergency SMS while the data eSIM runs primary traffic. Matching the plan to your app ecosystem, not your habit of “having a number,” saves you both money and activation headaches.
If your apps can place calls and send messages, data-only suffices; reserve calls-and-texts plans only for legacy SMS verification or direct local dialing needs.
Comparing regional packages against single-country coverage
When choosing an eSIM, weigh a regional package against single-country coverage by mapping your actual itinerary. A regional plan (e.g., Europe-wide) offers seamless roaming across borders, but you pay a premium for countries you may never visit. A single-country plan is cheaper per gigabyte and ideal for a long stay in one nation, yet it becomes useless the moment you cross a border, forcing a top-up or new purchase. For multi-stop trips, regional plans eliminate the hassle of reconfiguration mid-journey. Conversely, if most days are in one hub with a short side trip, combine a single-country plan with a tiny regional backup. Regional packages shine only when cross-border movement is frequent; otherwise, single-country coverage maximizes value per gigabyte.
Q: When is single-country coverage clearly better than a regional package?
A: When you stay in one nation for your entire trip—especially for 10+ days—since you avoid paying for unused neighboring countries and get more data for the same price.
Checking if the plan supports hotspot tethering for your laptop or tablet
Before you buy, dig into the plan’s fine print for **tethering and hotspot support**—many “unlimited” travel eSIMs quietly cap or block sharing your connection. On your laptop or tablet, this means opening the hotspot menu and testing if the device actually appears, but ideally check the provider’s FAQ or app settings first. Some plans only allow hotspot on certain devices, so confirm your tablet’s model is listed. Also watch for speed throttling after a small data allowance, which makes tethering painfully slow. A quick support chat—not a bot—can verify that your laptop won’t hit a firewall. Test it right after activation to avoid mid-trip surprises.
Always verify the eSIM’s tethering policy before traveling, then run a live hotspot test on your laptop or tablet right after activation.
How Do You Make the Most of Your eSIM While Traveling?
To make the most of your eSIM while traveling, activate it only upon arrival at your destination to preserve plan validity and avoid unintended roaming charges. Before departure, pre-download the eSIM profile to a stable Wi-Fi connection, then switch your primary line off in settings. Use your eSIM’s data for navigation, instant translation, and ride-hailing—not for heavy video streaming unless your plan is unlimited. Monitor your data usage through your provider’s app daily, and disable background app refresh for non-essential apps. If your eSIM supports multiple profiles, keep a secondary local carrier’s profile as a backup for dead zones.
Set your phone to prefer the eSIM for data while keeping your home SIM active for SMS verification, ensuring you never lose account access.
Finally, turn off data roaming for your physical SIM to prevent automatic carrier switching, locking in your eSIM’s cost-effective rates.

Tips to extend your data—like switching off background app refresh
To stretch your travel eSIM, aggressively disable background app refresh for navigation, messaging, and social apps via your device’s settings. This single action stops data-draining updates, such as email fetching or map tile preloading, when you’re not actively using them. Set video and music streaming apps to download content only on Wi-Fi—strict data limits for streaming are your first defense against rapid depletion. Also, switch your phone to “low data mode” and manually refresh your inbox rather than allowing push notifications. Remember that map apps often consume more data passively than active browsing, so force-quit them after each journey. Finally, disable automatic cloud backups and photo syncing, which can silently consume gigabytes while you sleep.
Switching between multiple eSIM profiles if you visit several countries
When your itinerary spans multiple countries, switching between multiple eSIM profiles while traveling becomes a matter of pre-loading each destination’s plan before departure. Assign each profile a clear label—e.g., “Japan–7 days”—in your device’s cellular settings to avoid confusion at borders. Activate the relevant profile only after landing, then set it as the default data line; keep your home profile active for calls if your phone supports dual standby. For seamless transitions, stagger plan start dates to avoid overlap, and disable “auto-switch” on your device, as automatic selection may pick a roaming profile with worse rates. Always carry a QR code backup for each profile, since re-downloading after deletion often requires the original scan.
Troubleshooting common issues: no signal, slow speeds, or activation failures
When your travel eSIM throws a fit, start with the basics: troubleshooting common eSIM travel issues usually begins with toggling airplane mode for 30 seconds—it forces your phone to re-register with local towers. No signal? Check that data roaming is switched on for that specific line, and manually select your destination’s network under carrier settings. Slow speeds often mean you’re on a congested tower; try switching between 4G/5G modes or moving near a window. Activation failures—double-check your QR code hasn’t expired and that your device’s date/time is on automatic. *If all else fails, reinstalling the eSIM profile after a reboot fixes most stubborn glitches.*
Q: What’s the fastest fix for no signal on my eSIM while traveling?
A: Toggle airplane mode on and off, then manually search for networks—picking a different provider than your eSIM’s default often clears the dead zone instantly.
What Are the Hidden Benefits and Limitations of Using a Digital SIM Abroad?
The quiet triumph of an eSIM is how it removes the *first-hour scramble*—that sweaty, luggage-heavy hunt for a local SIM kiosk. You land, switch profiles, and you’re instantly navigable; the hidden benefit isn’t just convenience, but the preservation of your travel mood. Yet the **hidden limitations of digital SIM abroad** surface later, often in dead zones. Physical SIMs roam across older local towers with better fallback agreements, while your eSIM’s single virtual carrier may cling to a weak signal patch. Also, switching numbers for banking or WhatsApp verification becomes a two-phone chore, since your physical SIM is inactive. The crafty traveler keeps one eSIM as a data-only scapegoat and their home SIM for texts—realizing the **benefits of eSIM for travel** only manifest when you respect these subtle, logistical boundaries.
Why you can land and get connected instantly without hunting for Wi-Fi
Landing without a plan is fine if your phone already has a profile baked in, so you skip the airport café scrum entirely. Because your eSIM activates the moment your plane touches down and finds a local tower, you step off the jet bridge with bars already showing. No hunting for Wi-Fi means you can punch in your hotel address, message your ride, or check the metro map before you even reach baggage claim. Instant connectivity upon landing works because the digital SIM pre-negotiates network access, so the only thing you do is switch off airplane mode. The sequence is simple:
- Download and install your eSIM before departure.
- Turn off airplane mode after landing.
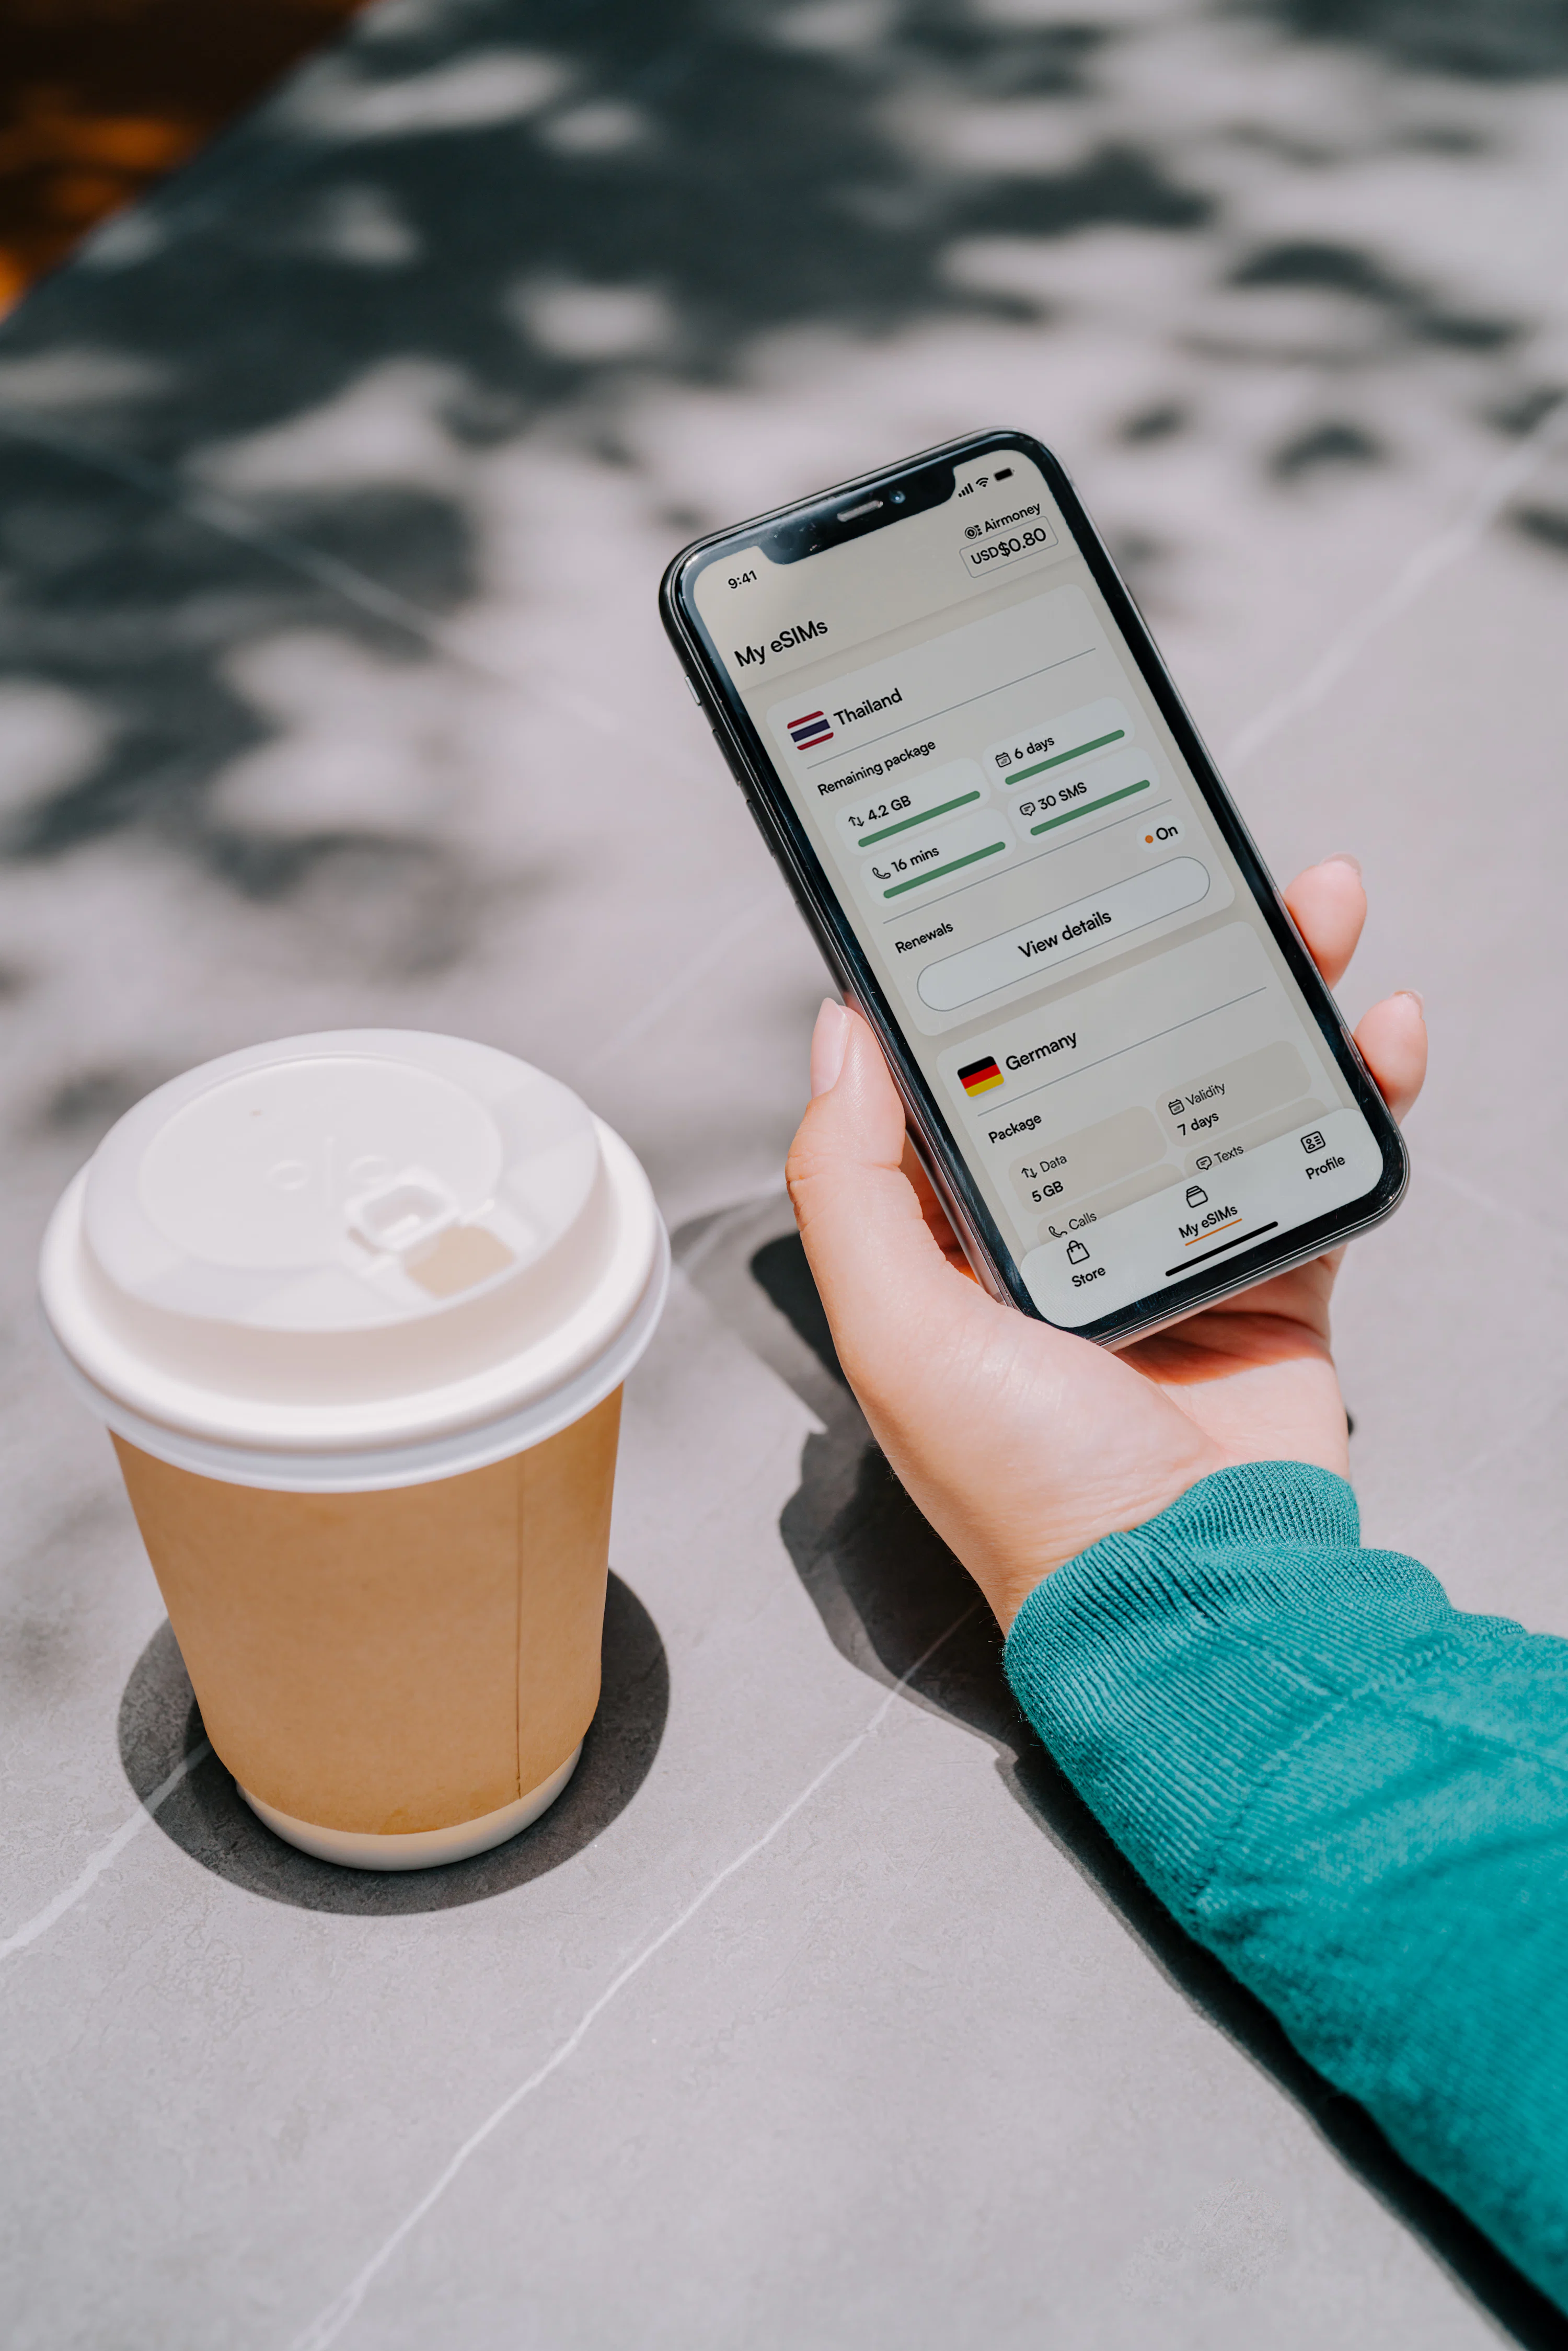
- Watch your phone connect Best Asia eSIM automatically to a local partner network.
No passwords, no queues—just data waiting for you.
Keeping your physical SIM slot free for a local prepaid card as backup
Keeping your physical SIM slot free for a local prepaid card as backup is a strategic hedge against eSIM coverage gaps. While your digital profile handles the primary data plan, a local prepaid SIM inserted on arrival can rescue you if the eSIM’s host network fails in a rural area or during an outage. This slot reservation requires a dual-SIM phone; otherwise, you forfeit your home carrier’s number. Activate the prepaid card only when needed, keeping it dormant to avoid roaming charges. This approach preserves a reliable offline fallback for emergency connectivity, ensuring you never face a dead zone without a paid alternative.
Q: Should I buy the local prepaid SIM before or after landing?
A: After landing, from an official kiosk, so the card’s validity period starts only when you insert it, avoiding wasted days if your flight is delayed.
Understanding data speeds, network coverage gaps, and fair usage caps
Before you rely on a digital SIM abroad, get familiar with eSIM data speed realities. You’ll often see “4G LTE” in the app, but actual speeds depend on which local tower your eSIM’s home network has signed a deal with—sometimes you’ll get full 5G, other times you’ll drop to slower 3G in rural zones. Coverage gaps appear quickly: a provider might cover capital cities perfectly, but mountain villages or subway tunnels will have zero signal, so download offline maps for those spots. Fair usage caps are sneaky—unlimited plans throttle you after 10–20 GB per day, and video streaming may be capped at 480p. Check the exact threshold before streaming or large uploads.